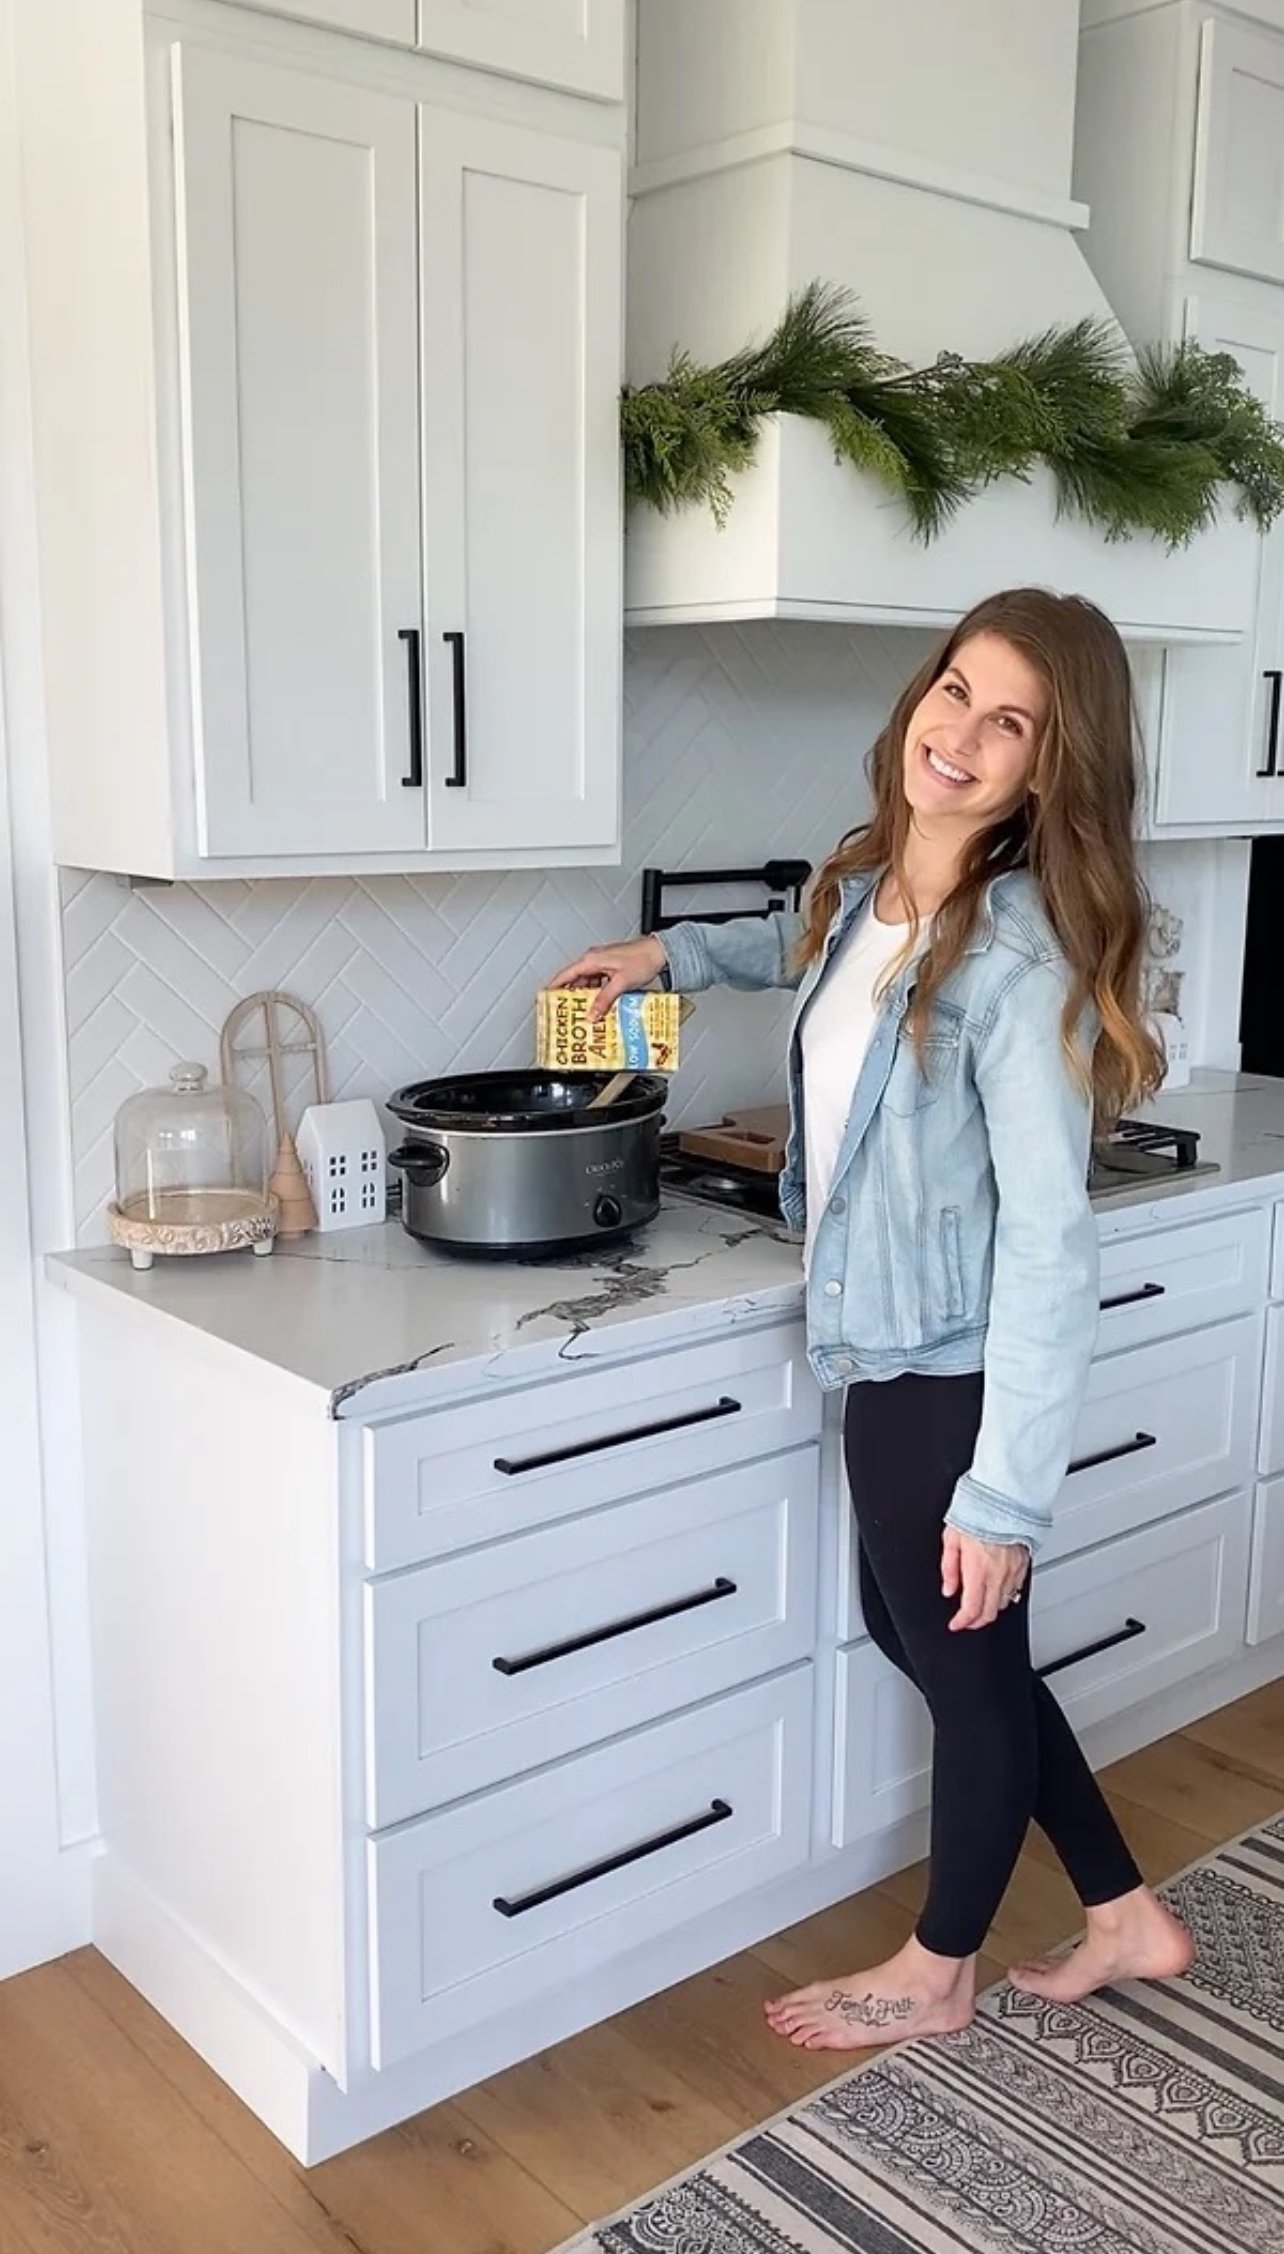
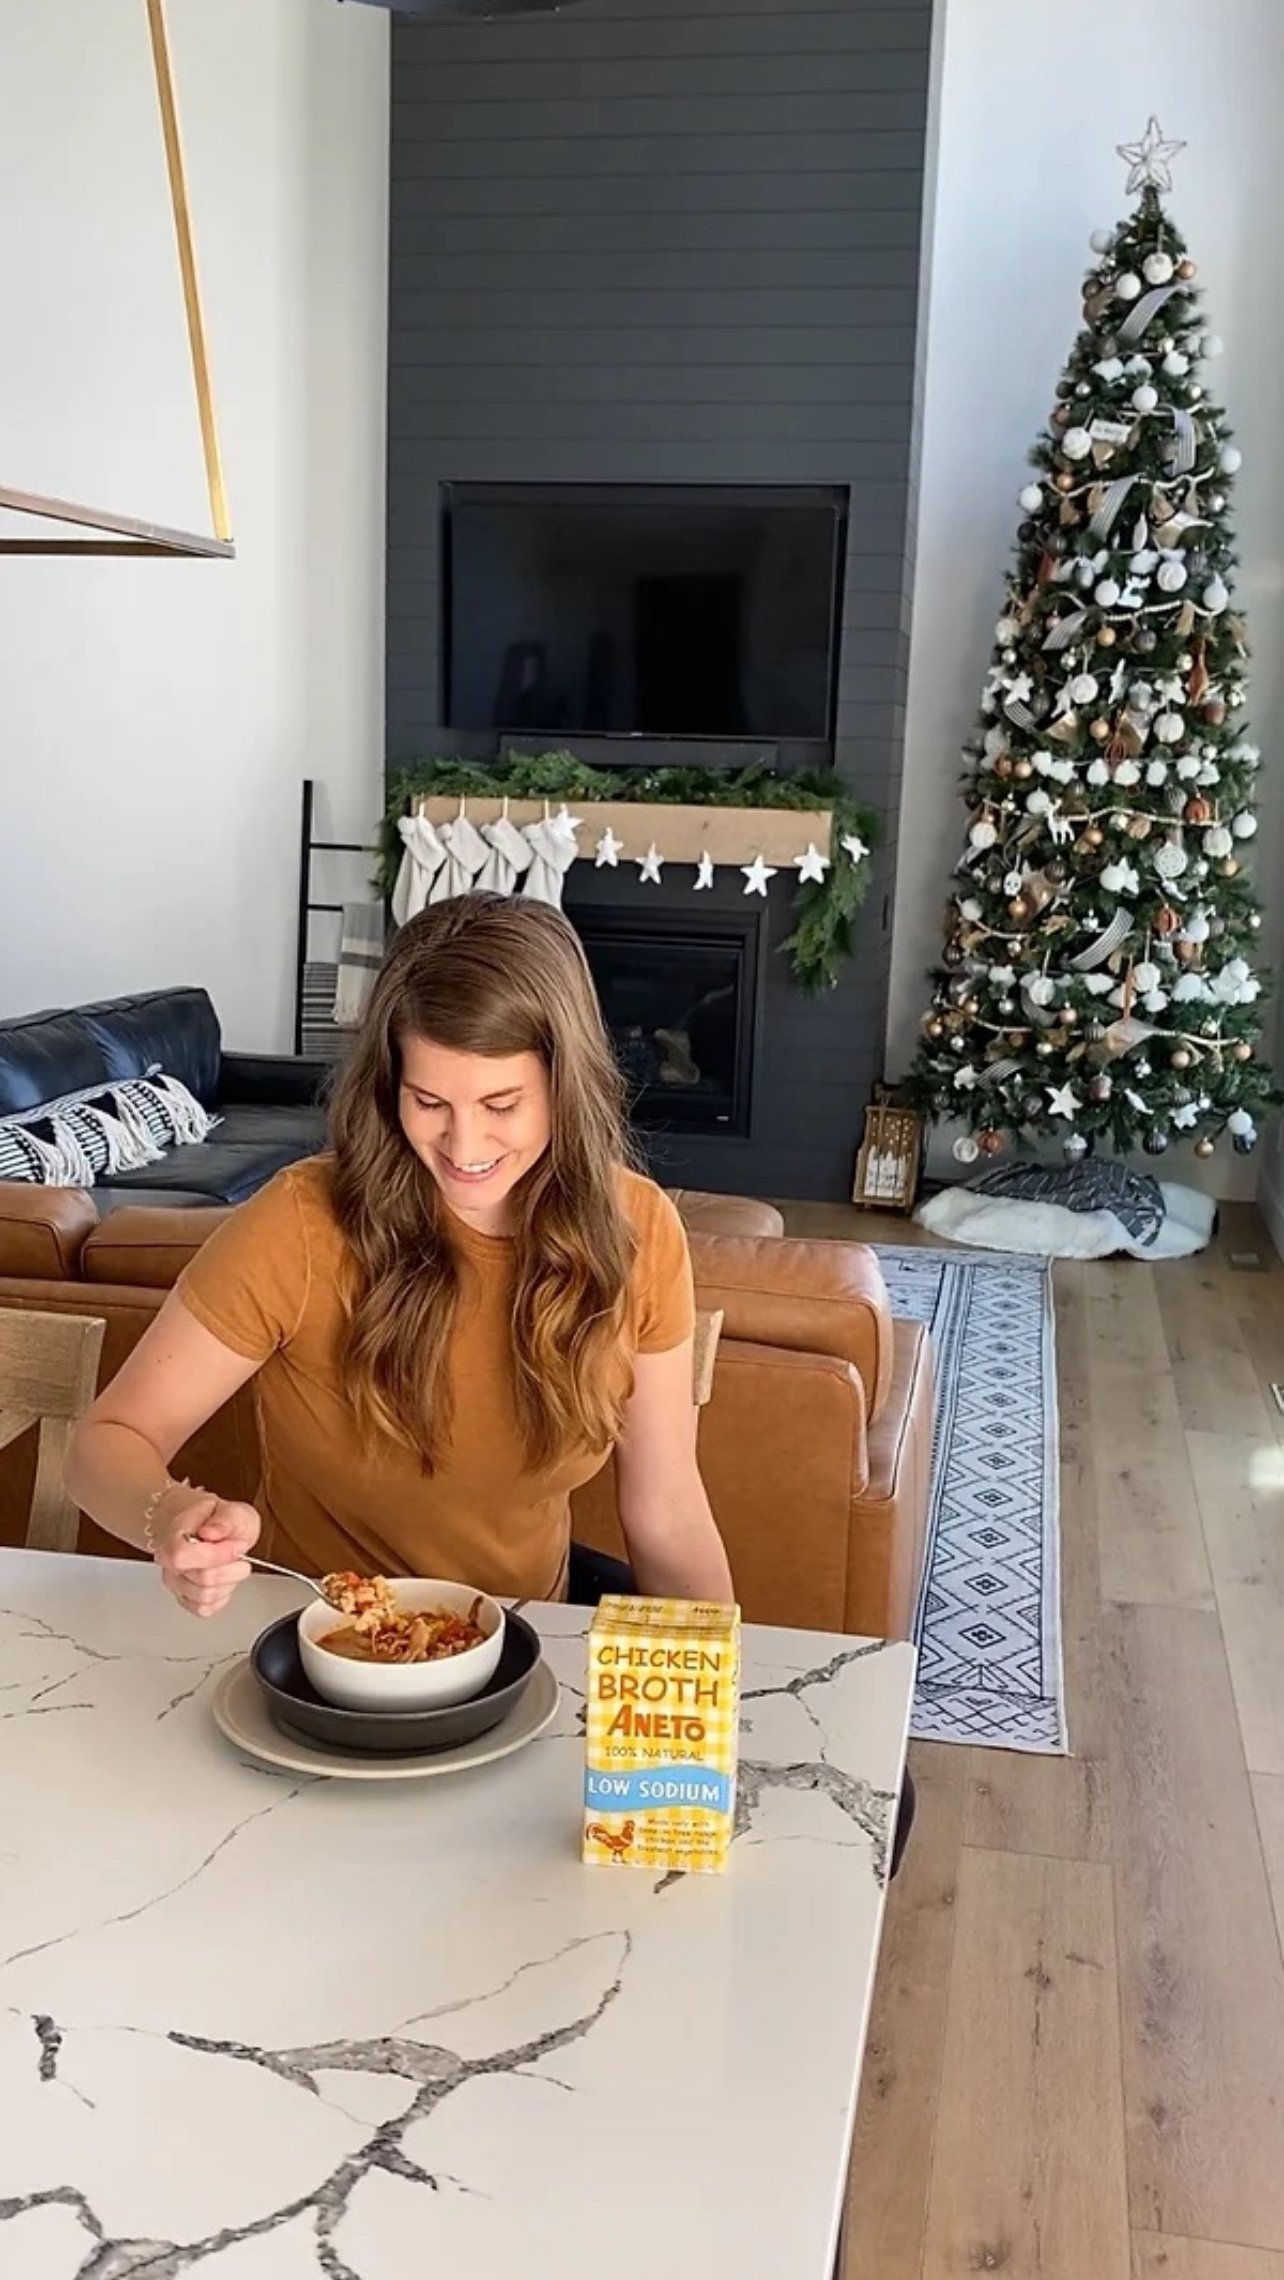
White Chicken Chili with Aneto Broth
I don’t know about you but the second the weather gets cold I’m ready for soup! I’m not much of a chef but I do try to provide healthy meals as often as I can and am a sucker for anything I can make in the crockpot! This white chicken chili recipe is as easy as can be!
You will need:
1 rotisserie chicken
1 chopped onion (I used a Spanish onion)
2 packets of white chicken chili seasoning packets
2 cans of Great Northern beans (16 ounce cans)
1 can of green chilies (7 ounce can)
1 can of diced tomatoes (28 ounces)
14 ounces of Aneto chicken broth (get yours here from Amazon (https://a.co/42W6uDt)
1 can of corn (16 ounces)
1/2 cup of half and half
Hot Sauce to taste
For the toppings:
Shredded cheese
Sour Cream
Lime wedges or lime juice
1) Chop onions into small pieces and brown in a skillet with a little olive oil. Once browned, add to crockpot.
2) Shred chilled rotisserie chicken into bite sized pieces. Add to crockpot.
3) Next add tomatoes, corn, beans, chilies and half and half to the mixture in the crockpot. Stir.
4) Add packets of white chicken chili seasoning and stir.
5) Add chicken broth. I prefer Aneto brand because it has 8 pure Ingredients (Onion, Leek, Celery, Free-range chicken, Carrot, Cabbage, Sea Salt, and Water) and doesn’t have any added powders or flavorings. It’s also gluten, soy and dairy free and only made from all natural ingredients, like vegetables and real chicken). They never use concentrates and pride themselves on this point, as quality ingredients matter to a lot of mom especially (Including me)!
6) Cook on low 6-8 hours. 7) Add hot sauce and lime juice to taste.
8) Top with cheese and sour cream and serve with corn bread.
ENJOY!
Installing Ultrashelf in our Laundry Room
Been putting this project off since the day we moved in! I’ve been staring at this room the last 8 months knowing I needed to build floating shelves for above the washer and dryer.
Procrastination at its finest definitely caught up with me as I stare down at my now 9 month pregnant belly 😂 Thank God for Ultra Shelf for saving procrastinators like me! I found this company and was blown away at the endless options for custom floating shelves! All I had to do was measure and they came completely ready to install!
The Ultra Shelf website is super easy to navigate! I started off by picking which wood species I wanted! From there you manually enter in the measurements you prefer! It’s seriously that easy! I ended up choosing Alder in a natural finish! My shelves are 3” thick, 12” deep and 62” long just to give you some perspective! You can also follow Ultra Shelf on instagram to see how other people have designed their shelves! Just tap here.
Once our shelves arrived, it was time to install! Because I am 9 months pregnant, I recruited my husband to help me lift them because they were pretty large! We started by marking where the left, right and center of our shelves would be using a pencil. Then we used our level to connect the marks and ensured the line we drew was level. Once the line was up, we used a stud finder to mark where the studs were.
Now we were ready to install the bracket! we held the bracket level with the line we drew and used the screws included to screw the bracket to the wall using the top row of holes on the steel bracket!
Now the fun part! All we had to do was insert the shelf into the bracket and push it against to wall! We repeated these steps on the top shelf and Viola! I can’t imagine an easier process!
Ready for the reveal???
Follow us on instagram by clicking here! https://www.instagram.com/invites/contact/?i=s7ernowjxu81&utm_content=dhmeifu
We are also on TikTok!


